Photographing a garment for a model
Most of the accuracy available in a garment pipeline is decided before any code runs. It is decided by how the photograph was taken.
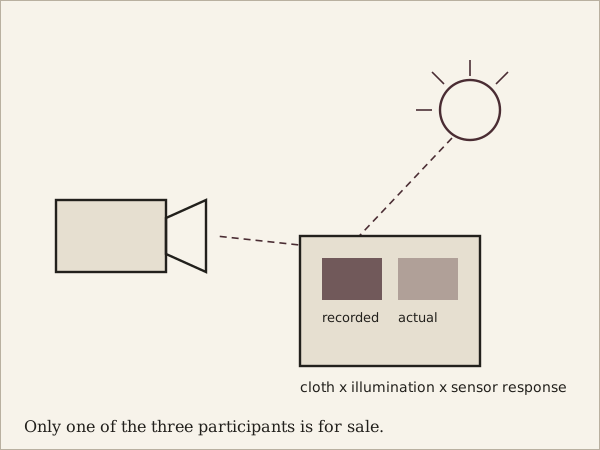
It is a persistent temptation to treat image quality as a problem for the model to overcome. Sometimes it is. More often, an hour spent on how a garment is photographed buys more than a week spent on the system that consumes the photographs, because a controlled image removes ambiguity rather than asking a model to resolve it. This is a practical note on what to control and why each control matters.
The surface and the separation
Photograph the garment against a plain surface whose tone contrasts with the cloth, and keep it far enough from that surface that its shadow does not merge with its own edge. Contrast makes the boundary findable; separation stops a cast shadow from being read as part of the garment. A mid-grey surface is a reasonable default because it contrasts with both light and dark cloth, and because it gives a neutral reference for white balance.
Light that does not invent structure
Two broad, soft sources at roughly forty-five degrees on either side, or one large source with a reflector opposite, will light a flat garment evenly. The aim is not to eliminate shadow, which would flatten the cloth into a silhouette and destroy the fold information, but to keep shadows shallow enough that they read as texture rather than as holes.
Hard directional light does the opposite. It carves deep shadows in every fold, and a segmentation model will assign some of those shadows to background, producing a mask with gaps in the middle of the garment. If drape is being assessed, hang the garment and light it evenly from the front so that the folds are its own rather than the lighting's.
Geometry and the perspective tax
Shoot square to the garment, with the camera axis perpendicular to the plane it lies in, and keep it centred in the frame. Any tilt introduces a projective distortion that makes one part of the garment measure larger than another, and no downstream correction recovers it without knowing the geometry.
Use a longer focal length and stand further back. A wide lens close in exaggerates whatever is nearest the camera, which for a garment on a body is usually the chest or the shoulder, precisely the region a fit system cares about. And put a physical scale reference in the frame, a ruler or a card of known size, in the same plane as the garment. Without one, an image contains no absolute dimension at all, and every length is a guess about distance.
Without a scale reference in the plane of the garment, an image contains no absolute dimension at all.
Consistency across the set
Everything above matters twice as much when it is applied identically to every garment in a set. A model learns the regularities of its input, and a consistent capture setup means the only thing varying between images is the garment, which is the variable of interest. An inconsistent setup means the model must first separate garment variation from capture variation, using data that gives it no direct evidence about which is which.
- Fix the white balance rather than leaving it automatic, so colour does not drift between items.
- Fix the camera position, height and focal length, and leave them fixed for the whole set.
- Steam or press before shooting, so packaging creases are not recorded as drape.
- Photograph front, back and a detail of the closure and the hem, in the same order every time.
- Record the flat measurements with a tape at the time of the shoot and keep them with the file. This is the single most valuable thing on the list.
Why this is the highest-leverage work
A model can be retrained. A photograph cannot be retaken once the garment has gone. The measurements written down beside a photograph at the moment it was made are ground truth that no amount of later inference reconstructs, and their absence is the most common reason a garment archive turns out to be less useful than the number of images in it suggested.